I’ll be doing a full review on the Garmin Zumo 590LM in the future but for now, I’ll just be talking about the installation of the GPS on my 2007 Yamaha FJR1300.
I would have never bought this for myself. Thankfully, I have the greatest girlfriend in the world and she got it for me as a Christmas present. My previous GPS unit was a 2013 Rand McNally atlas I purchased from a truck stop. However, occasionally I would call upon Siri to give me turn by turn directions. While the Rand McNally (I may even buy the 2015 version) will remain in the trunk of my bike, the Garmin is a welcome addition to my touring trips.
After opening the box and checking out all of the stuff it came with, including the manuals, I was kind of surprised by the wiring harness so I did a quick Google search to see what others thought of the harness…they too were perplexed…
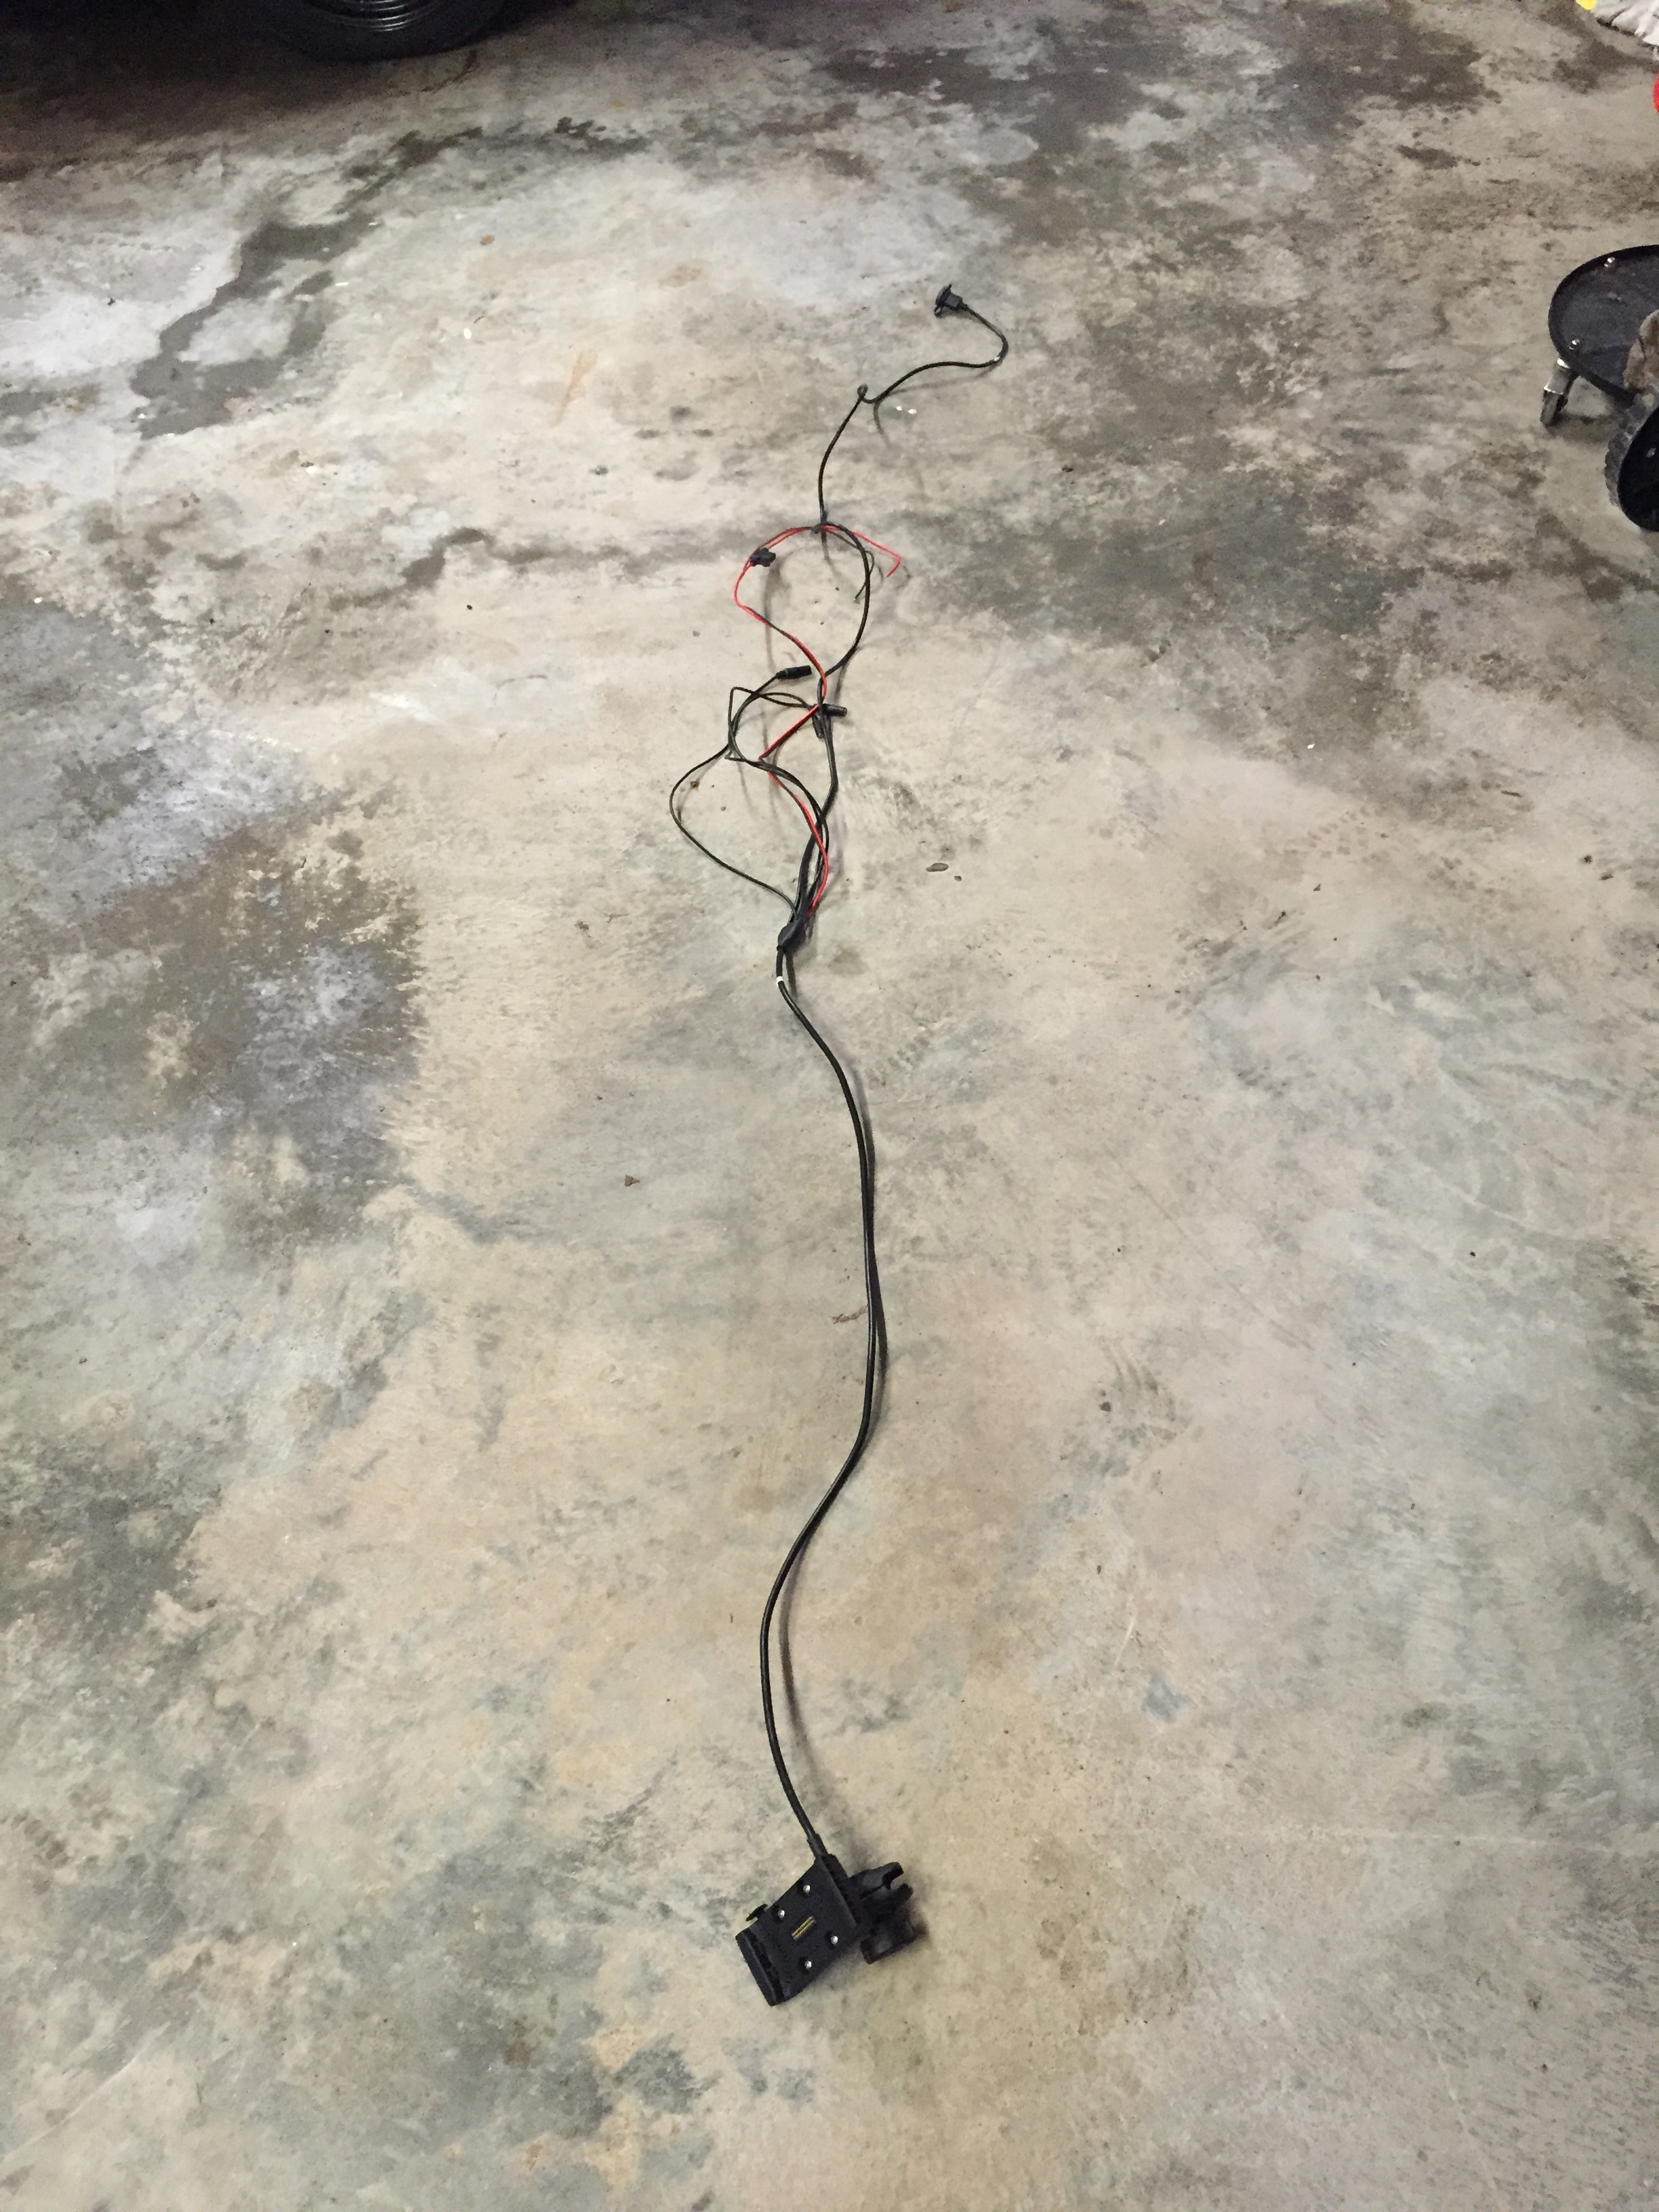 Seriously…who needs that amount of wire to wire up a GPS unit to a motorcycle? And what the hell are all of those other wires for? The manual says nothing about them!!
Fast forward to today and I’ve decided to get the unit mounted and wired.
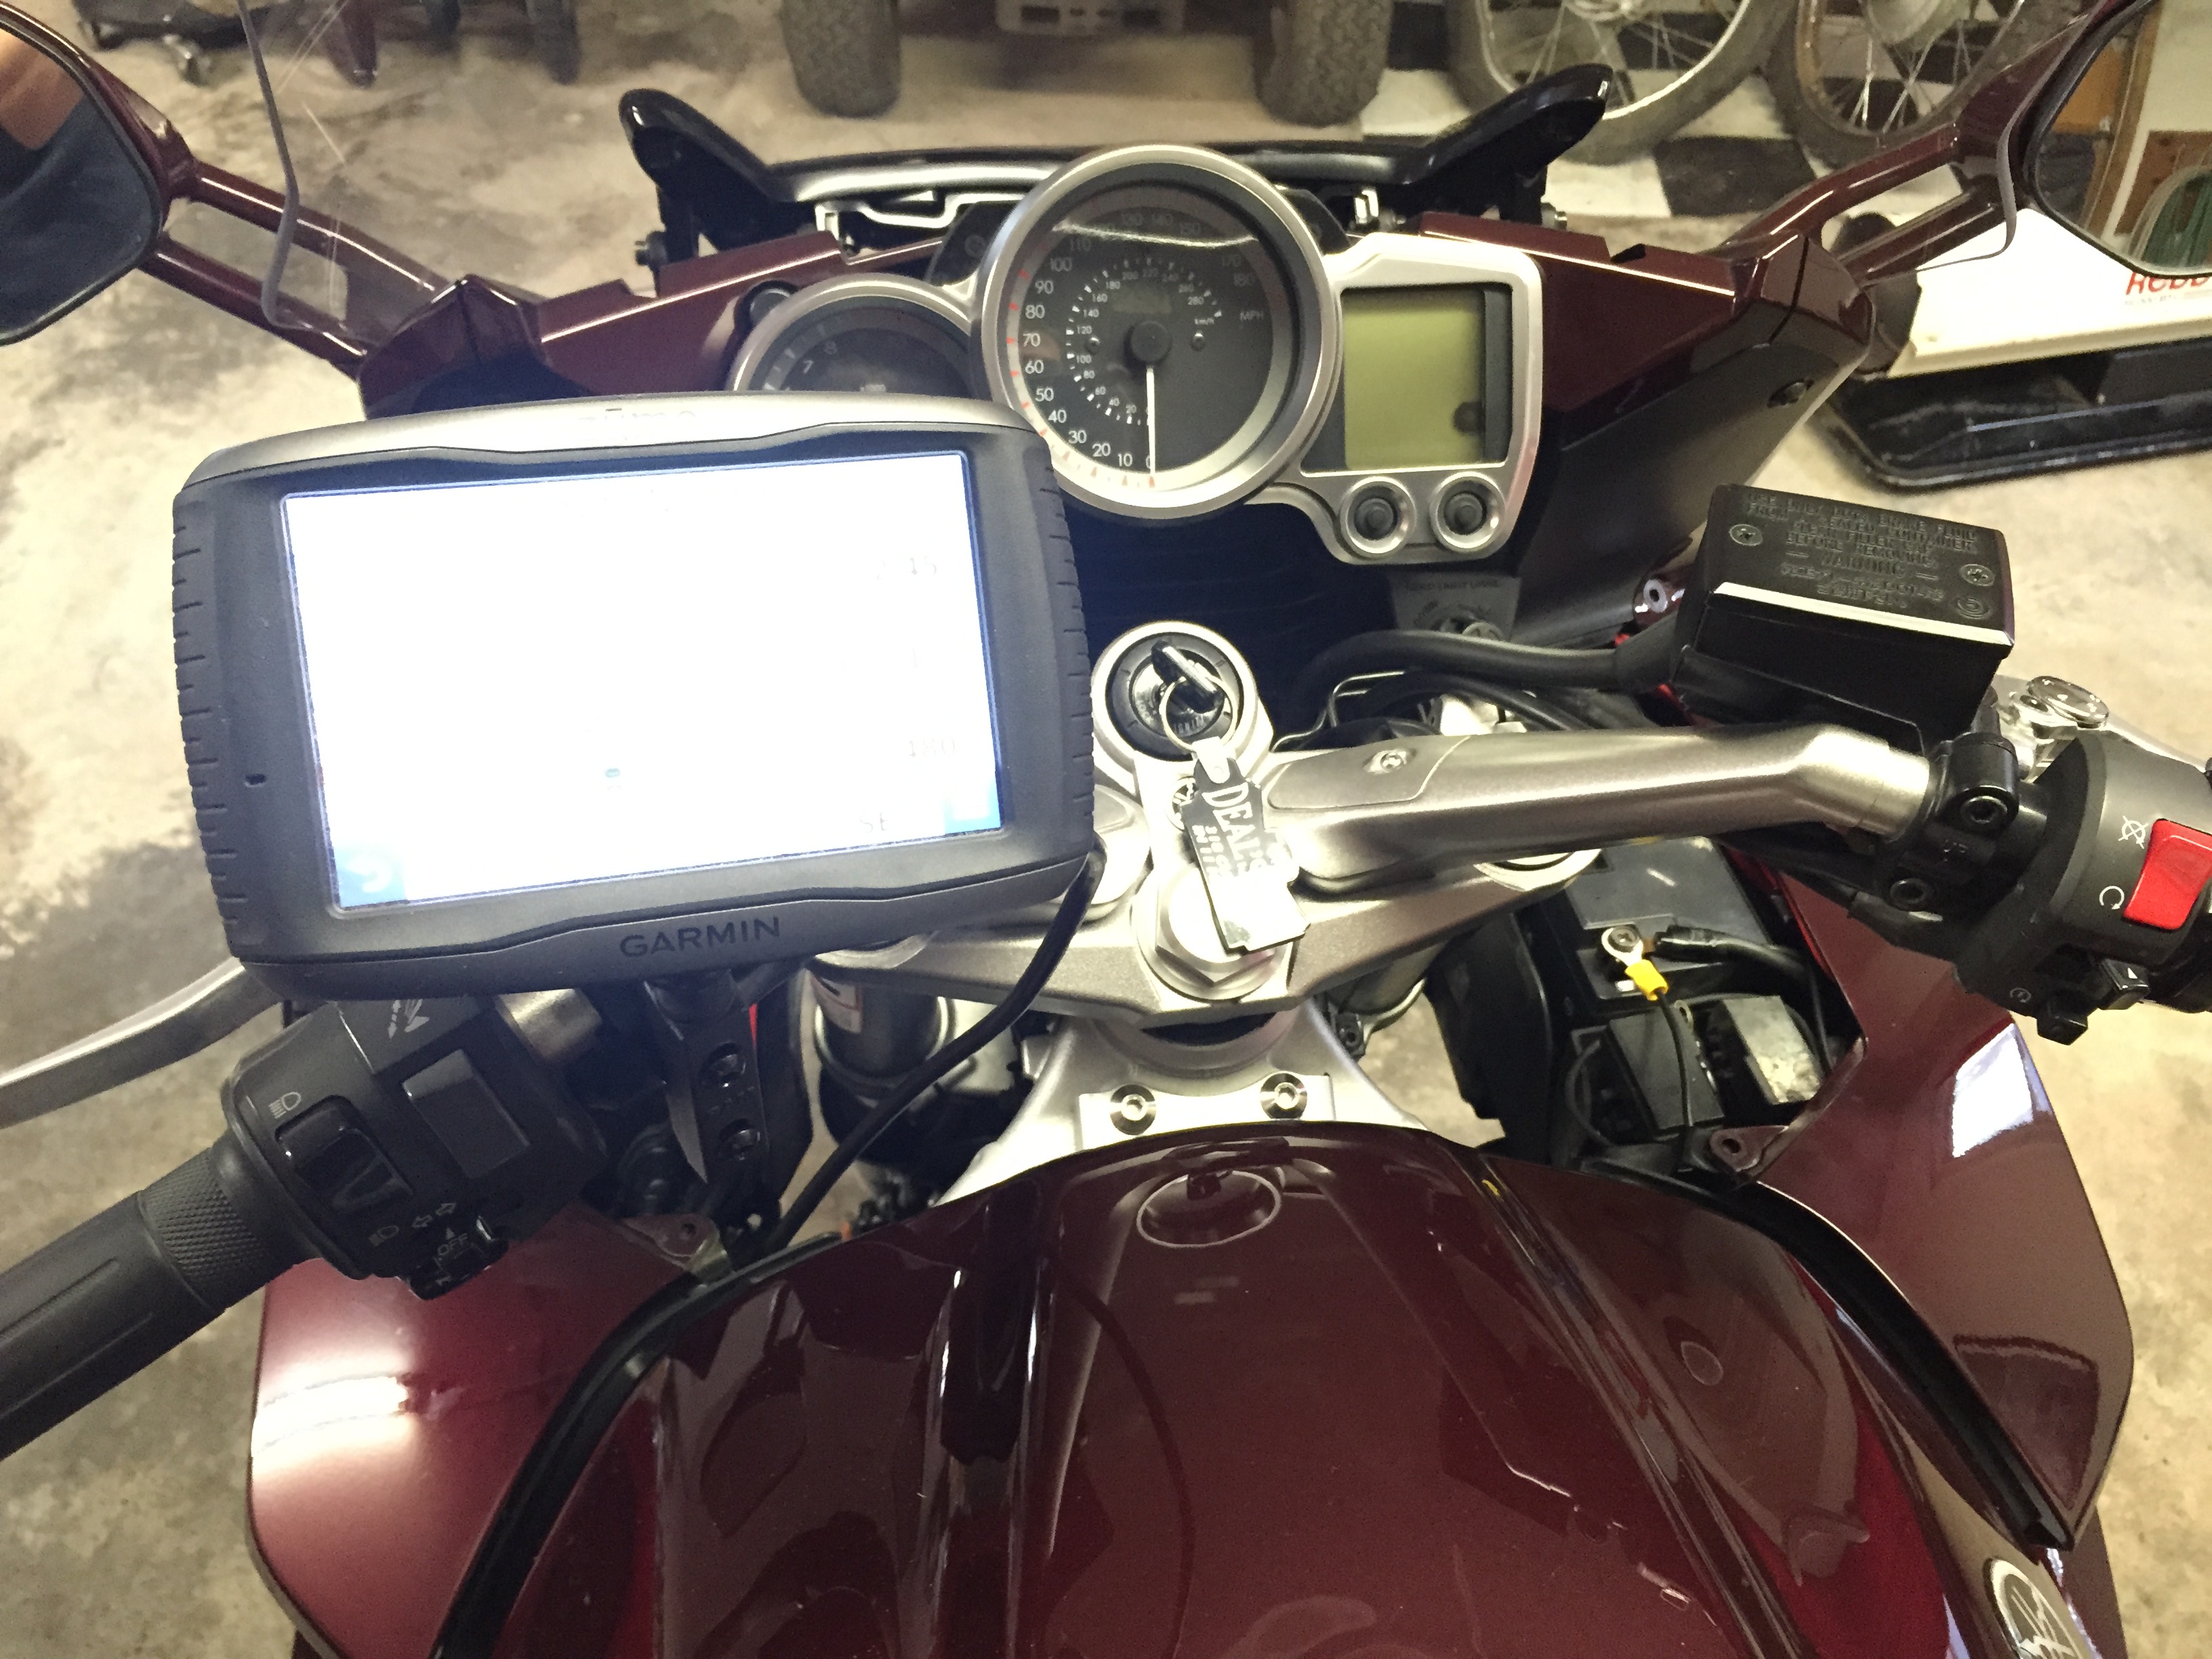
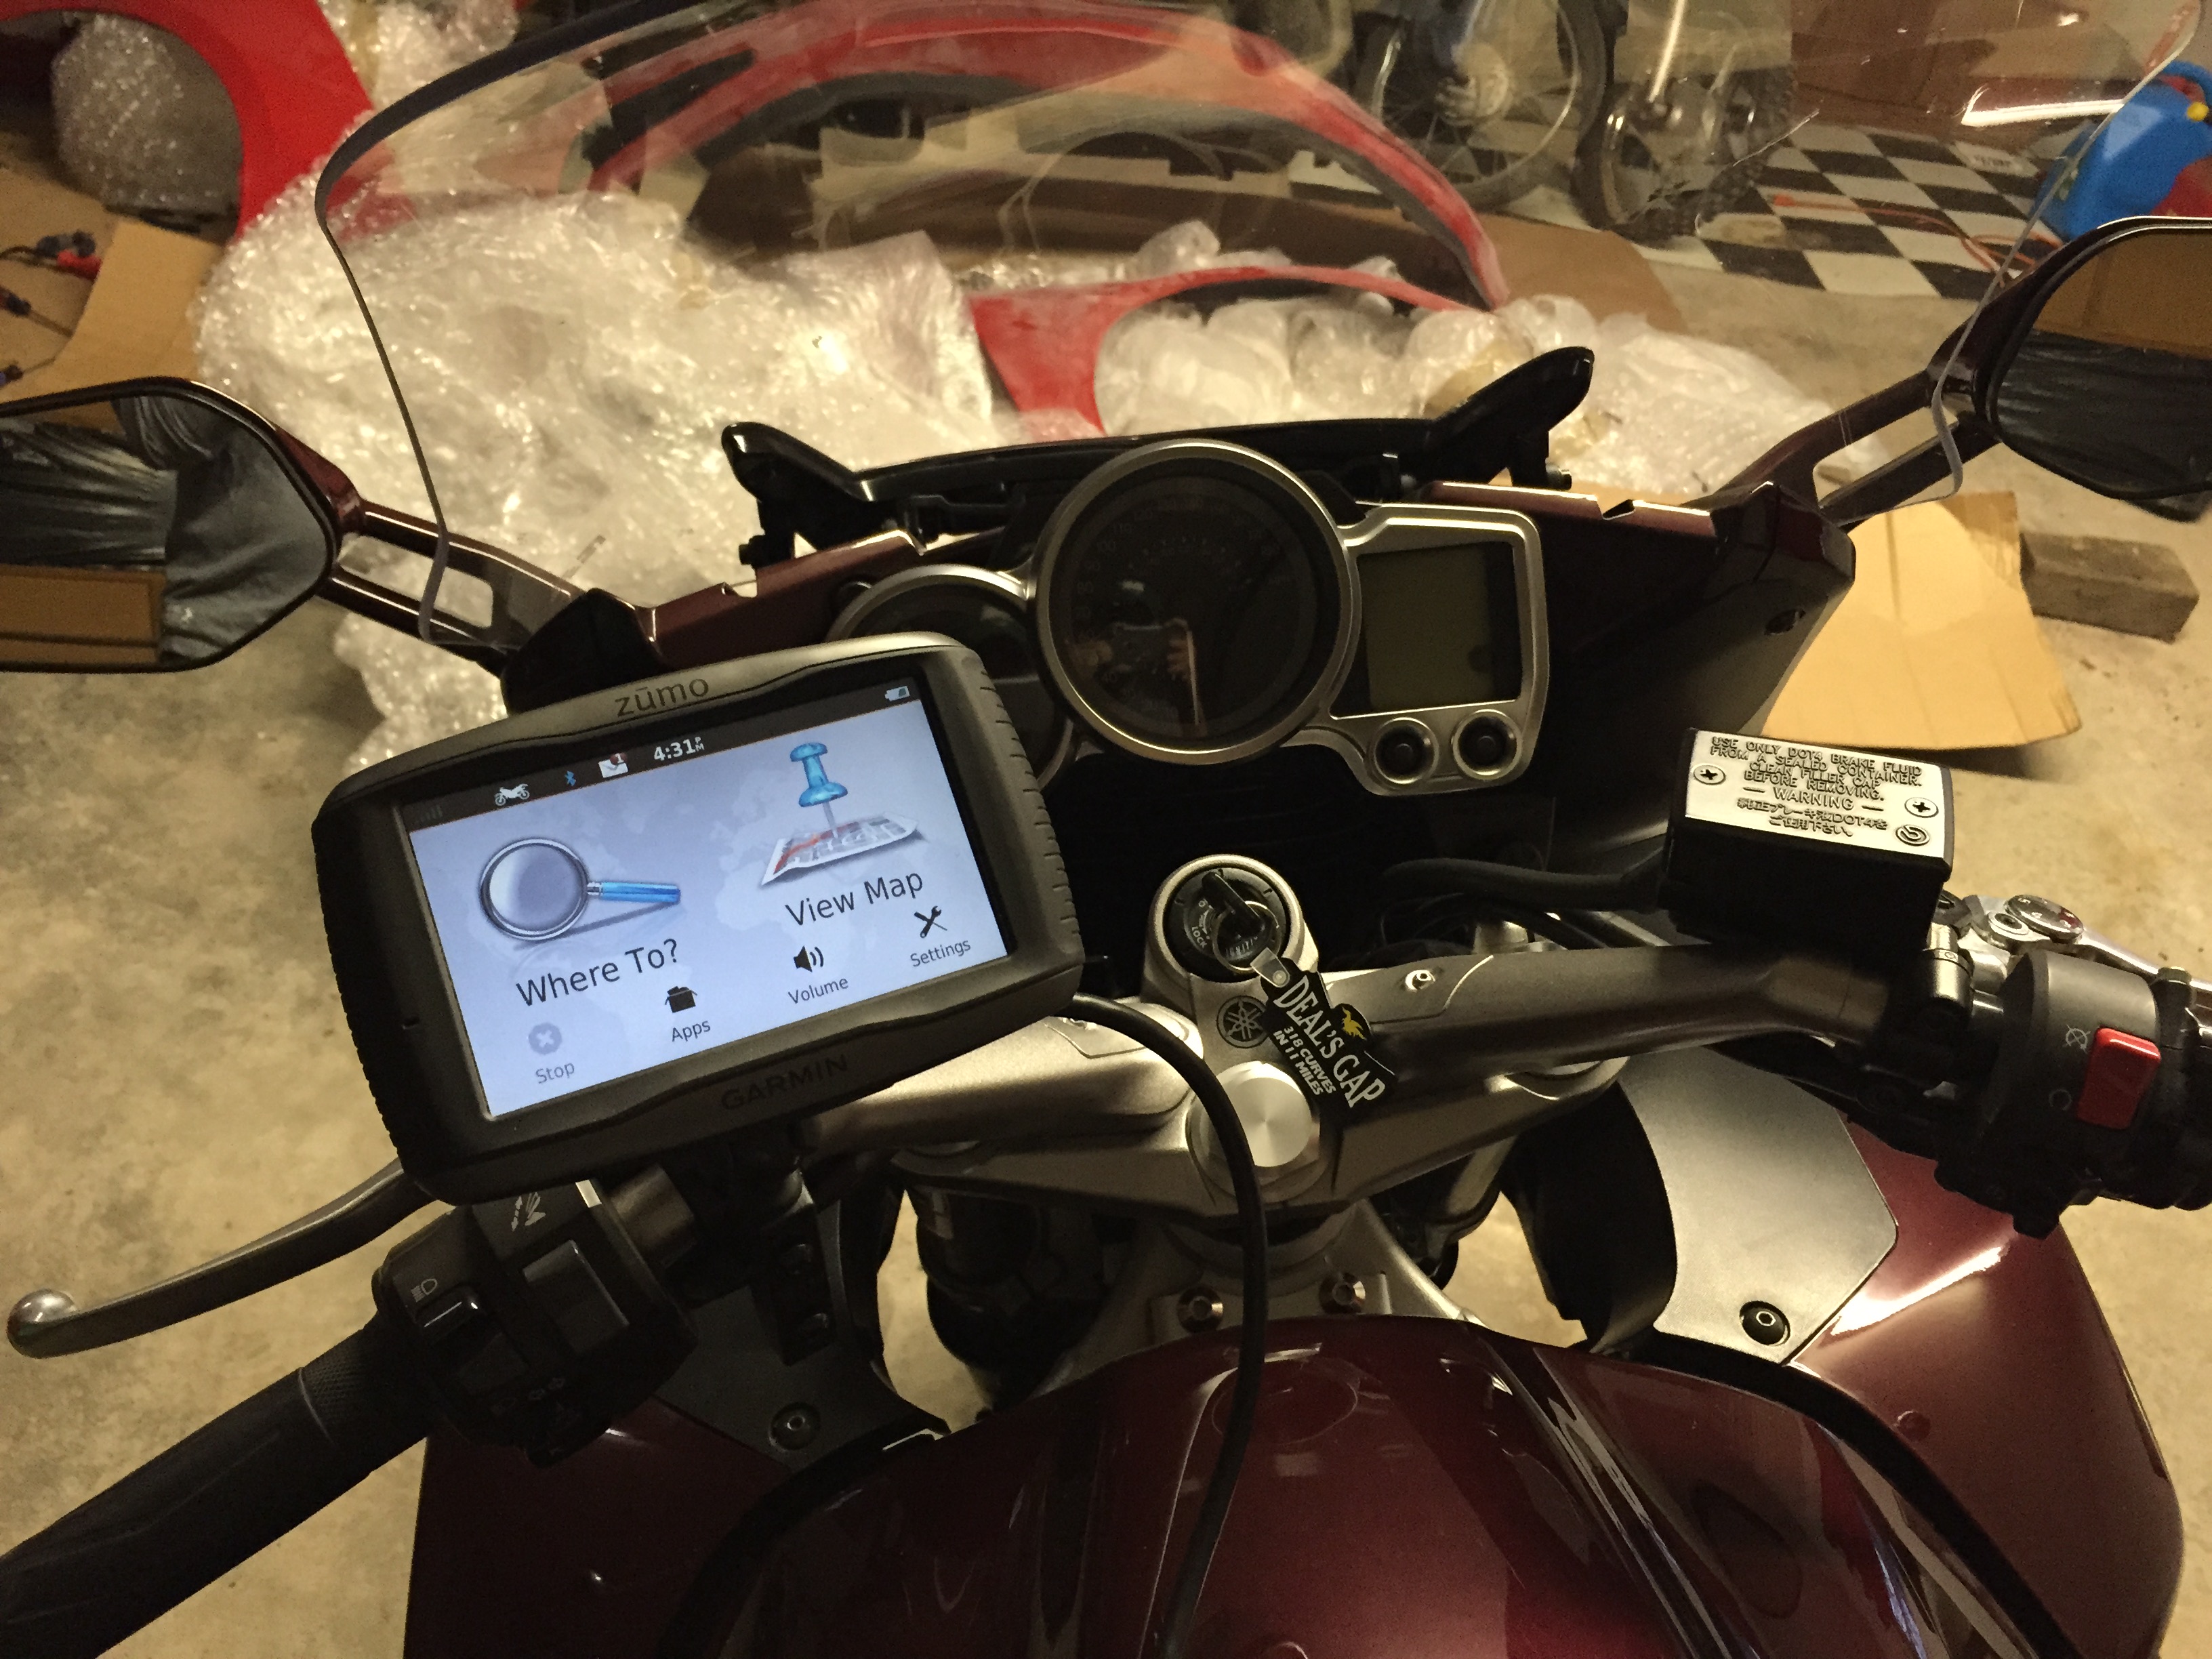
The first thing to do is figure out where you want to mount it. The unit comes with a RAM Motorcycle Brake/Clutch Reservoir Base so I decided to use it. Since my bike doesn’t have cruise control, my right hand it continuously on the throttle so it made sense to have the GPS mounted on the left side.
 Inside the package you’ll receive 2 longer screws to replace the factory screws. I placed the factory screws into a ziplock bag which I labeled appropriately. In addition to the longer screws you’ll also receive some spacers. The entire installation of the RAM mount will take less than 5 minutes.
With the RAM mount in place I did some test fitting to make sure I wanted the GPS unit mounted there. After I decided it would be fine mounted on the left handlebar, it was now time to wire the unit.
First you’ll need to put some eyelets on the ends of your positive and negative wires (pictured below).

Next, I needed to remove the inner fairing panel on the left. There are, 2 plastic push fasteners, a 4mm hex head screw, and 2 Phillips screws. *Your battery must be hooked up in order to remove this panel as the one Phillips head screw can only be accessed with the ‘glove compartment’ open.
You’ll also need to remove the inner fairing panel on the right side of the bike. There are two 4mm screws and 2 plastic push fasteners. Removing this panel will allow you to access the battery.
OK, about all of that access wire…turns out there is room to hide it behind the inner fairing panel on the left side but first you’ll have to zip tie it.
 After you have the excess wire zip tied, run the positive (red) and negative (black) wires behind the left inner fairing panel, through the front of the bike and into the battery compartment.
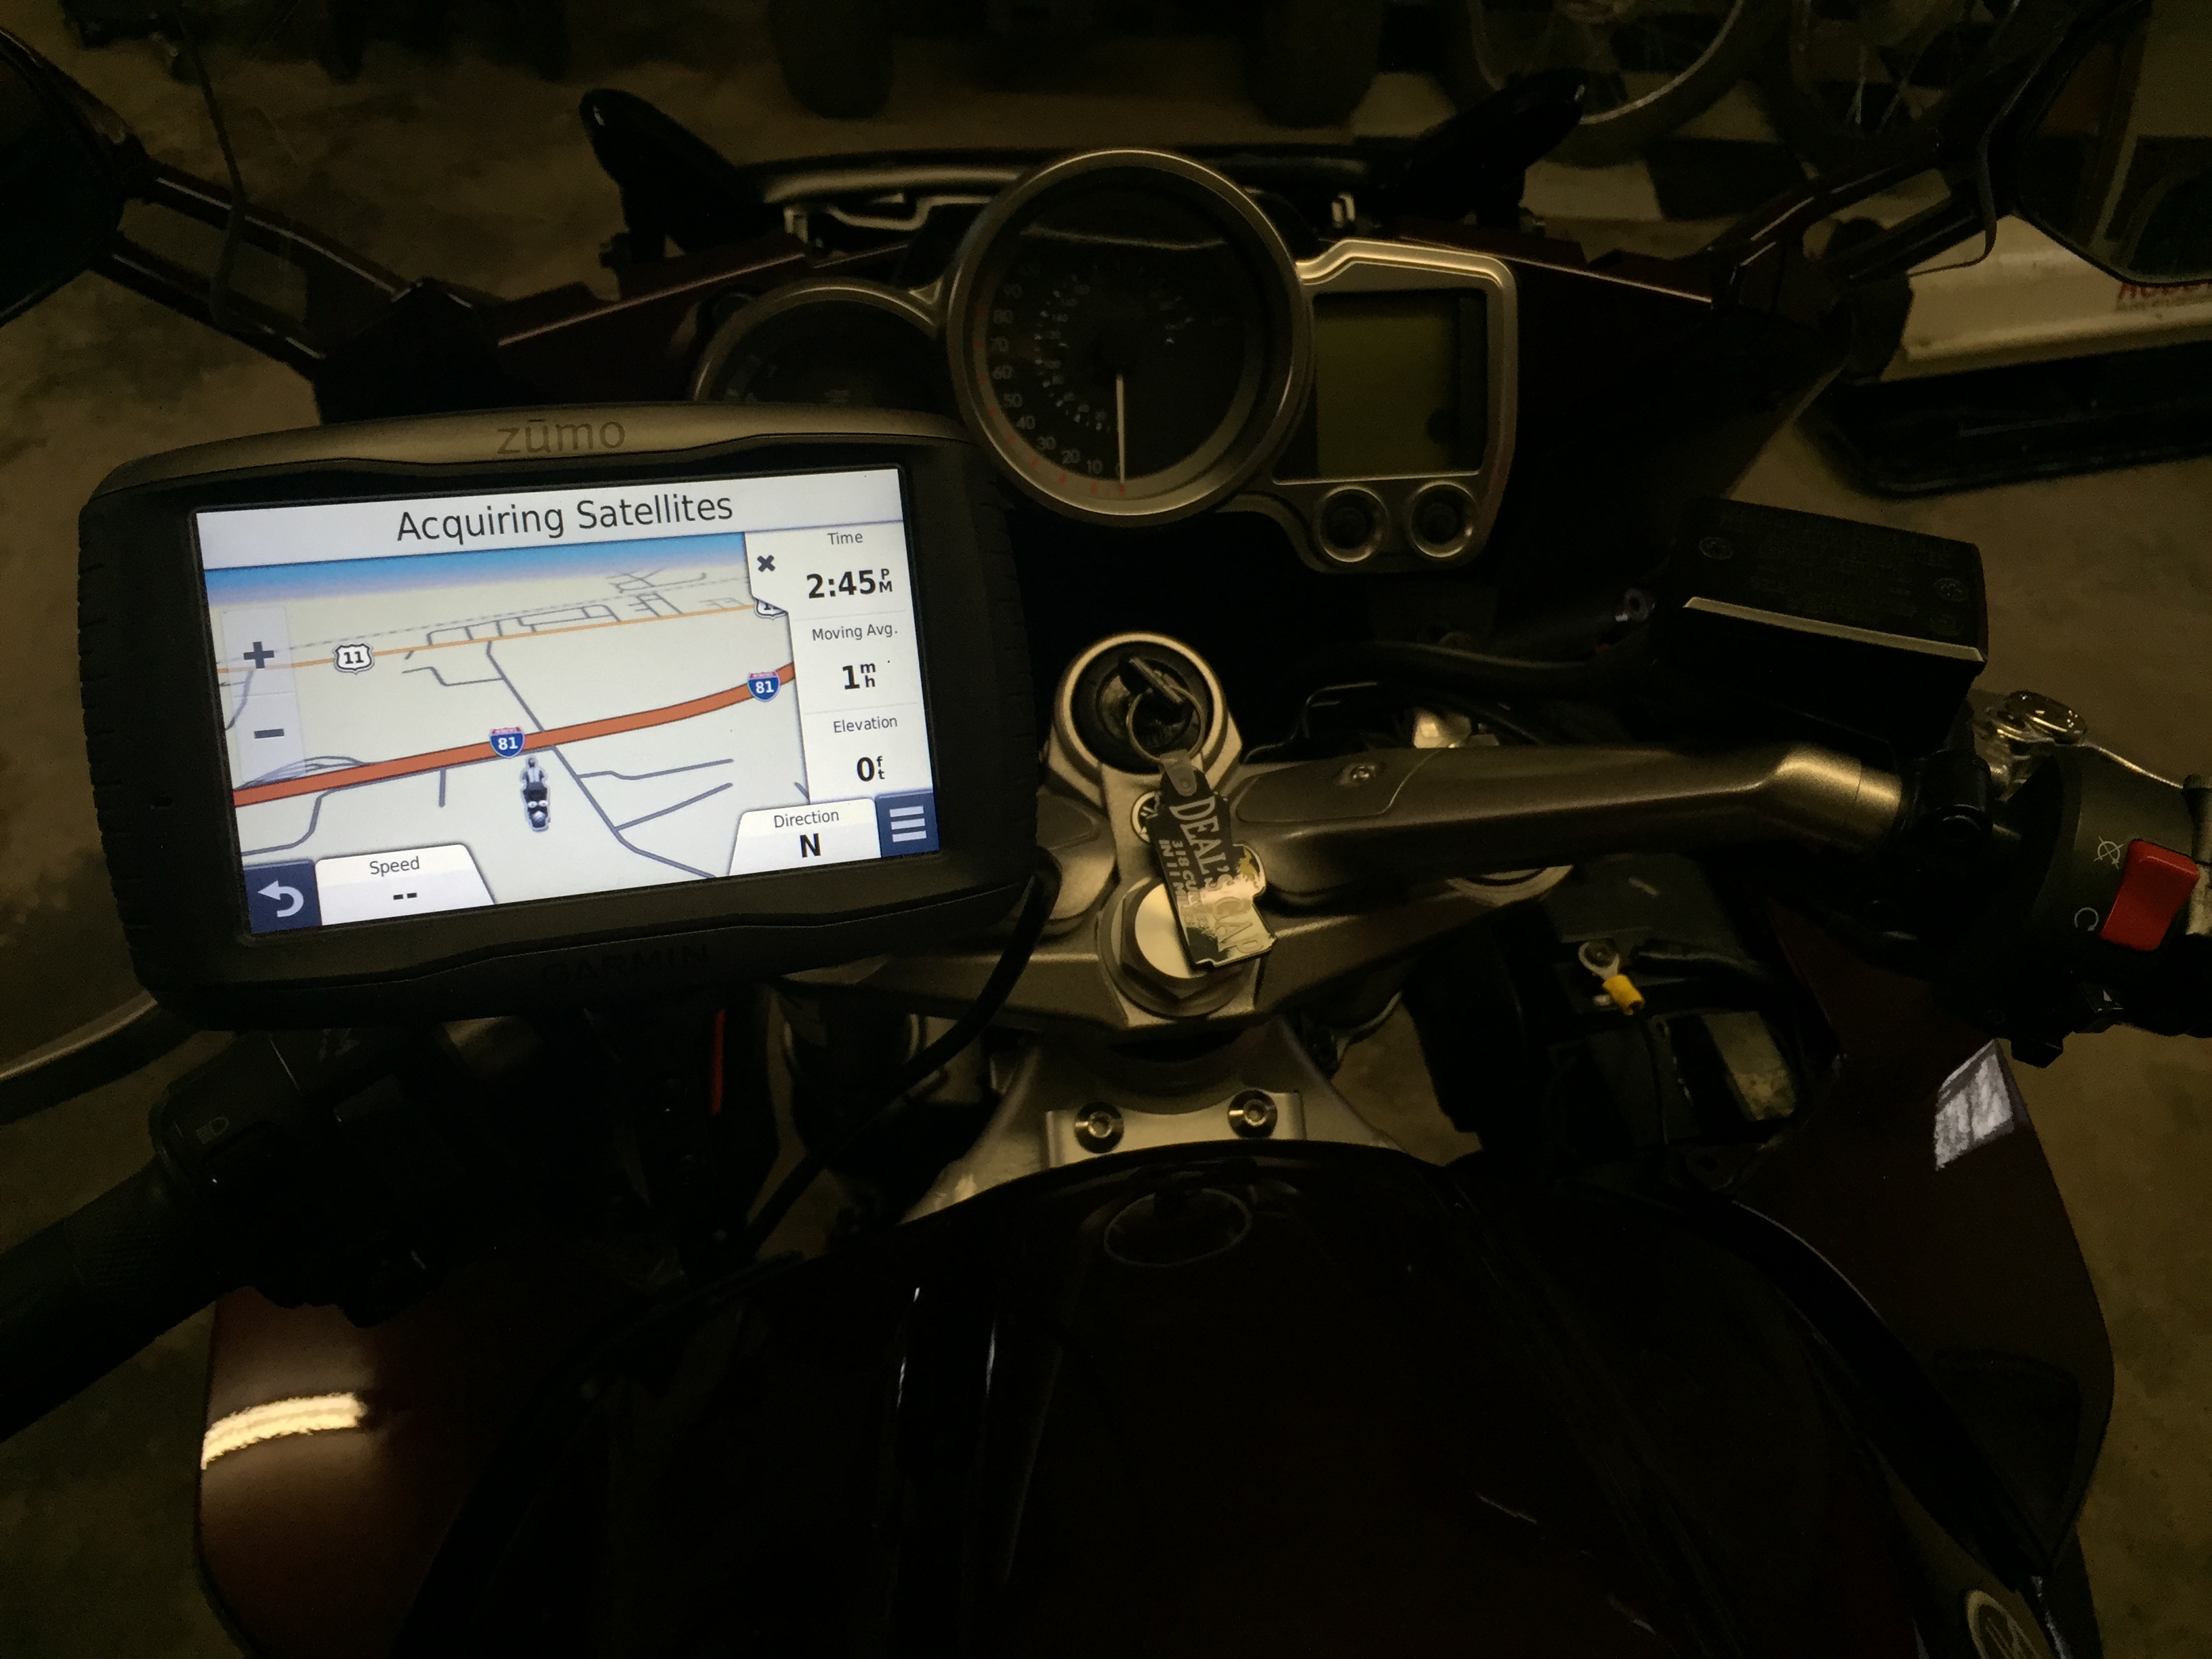
Once it’s in the battery compartment, hook it up to ensure it works.
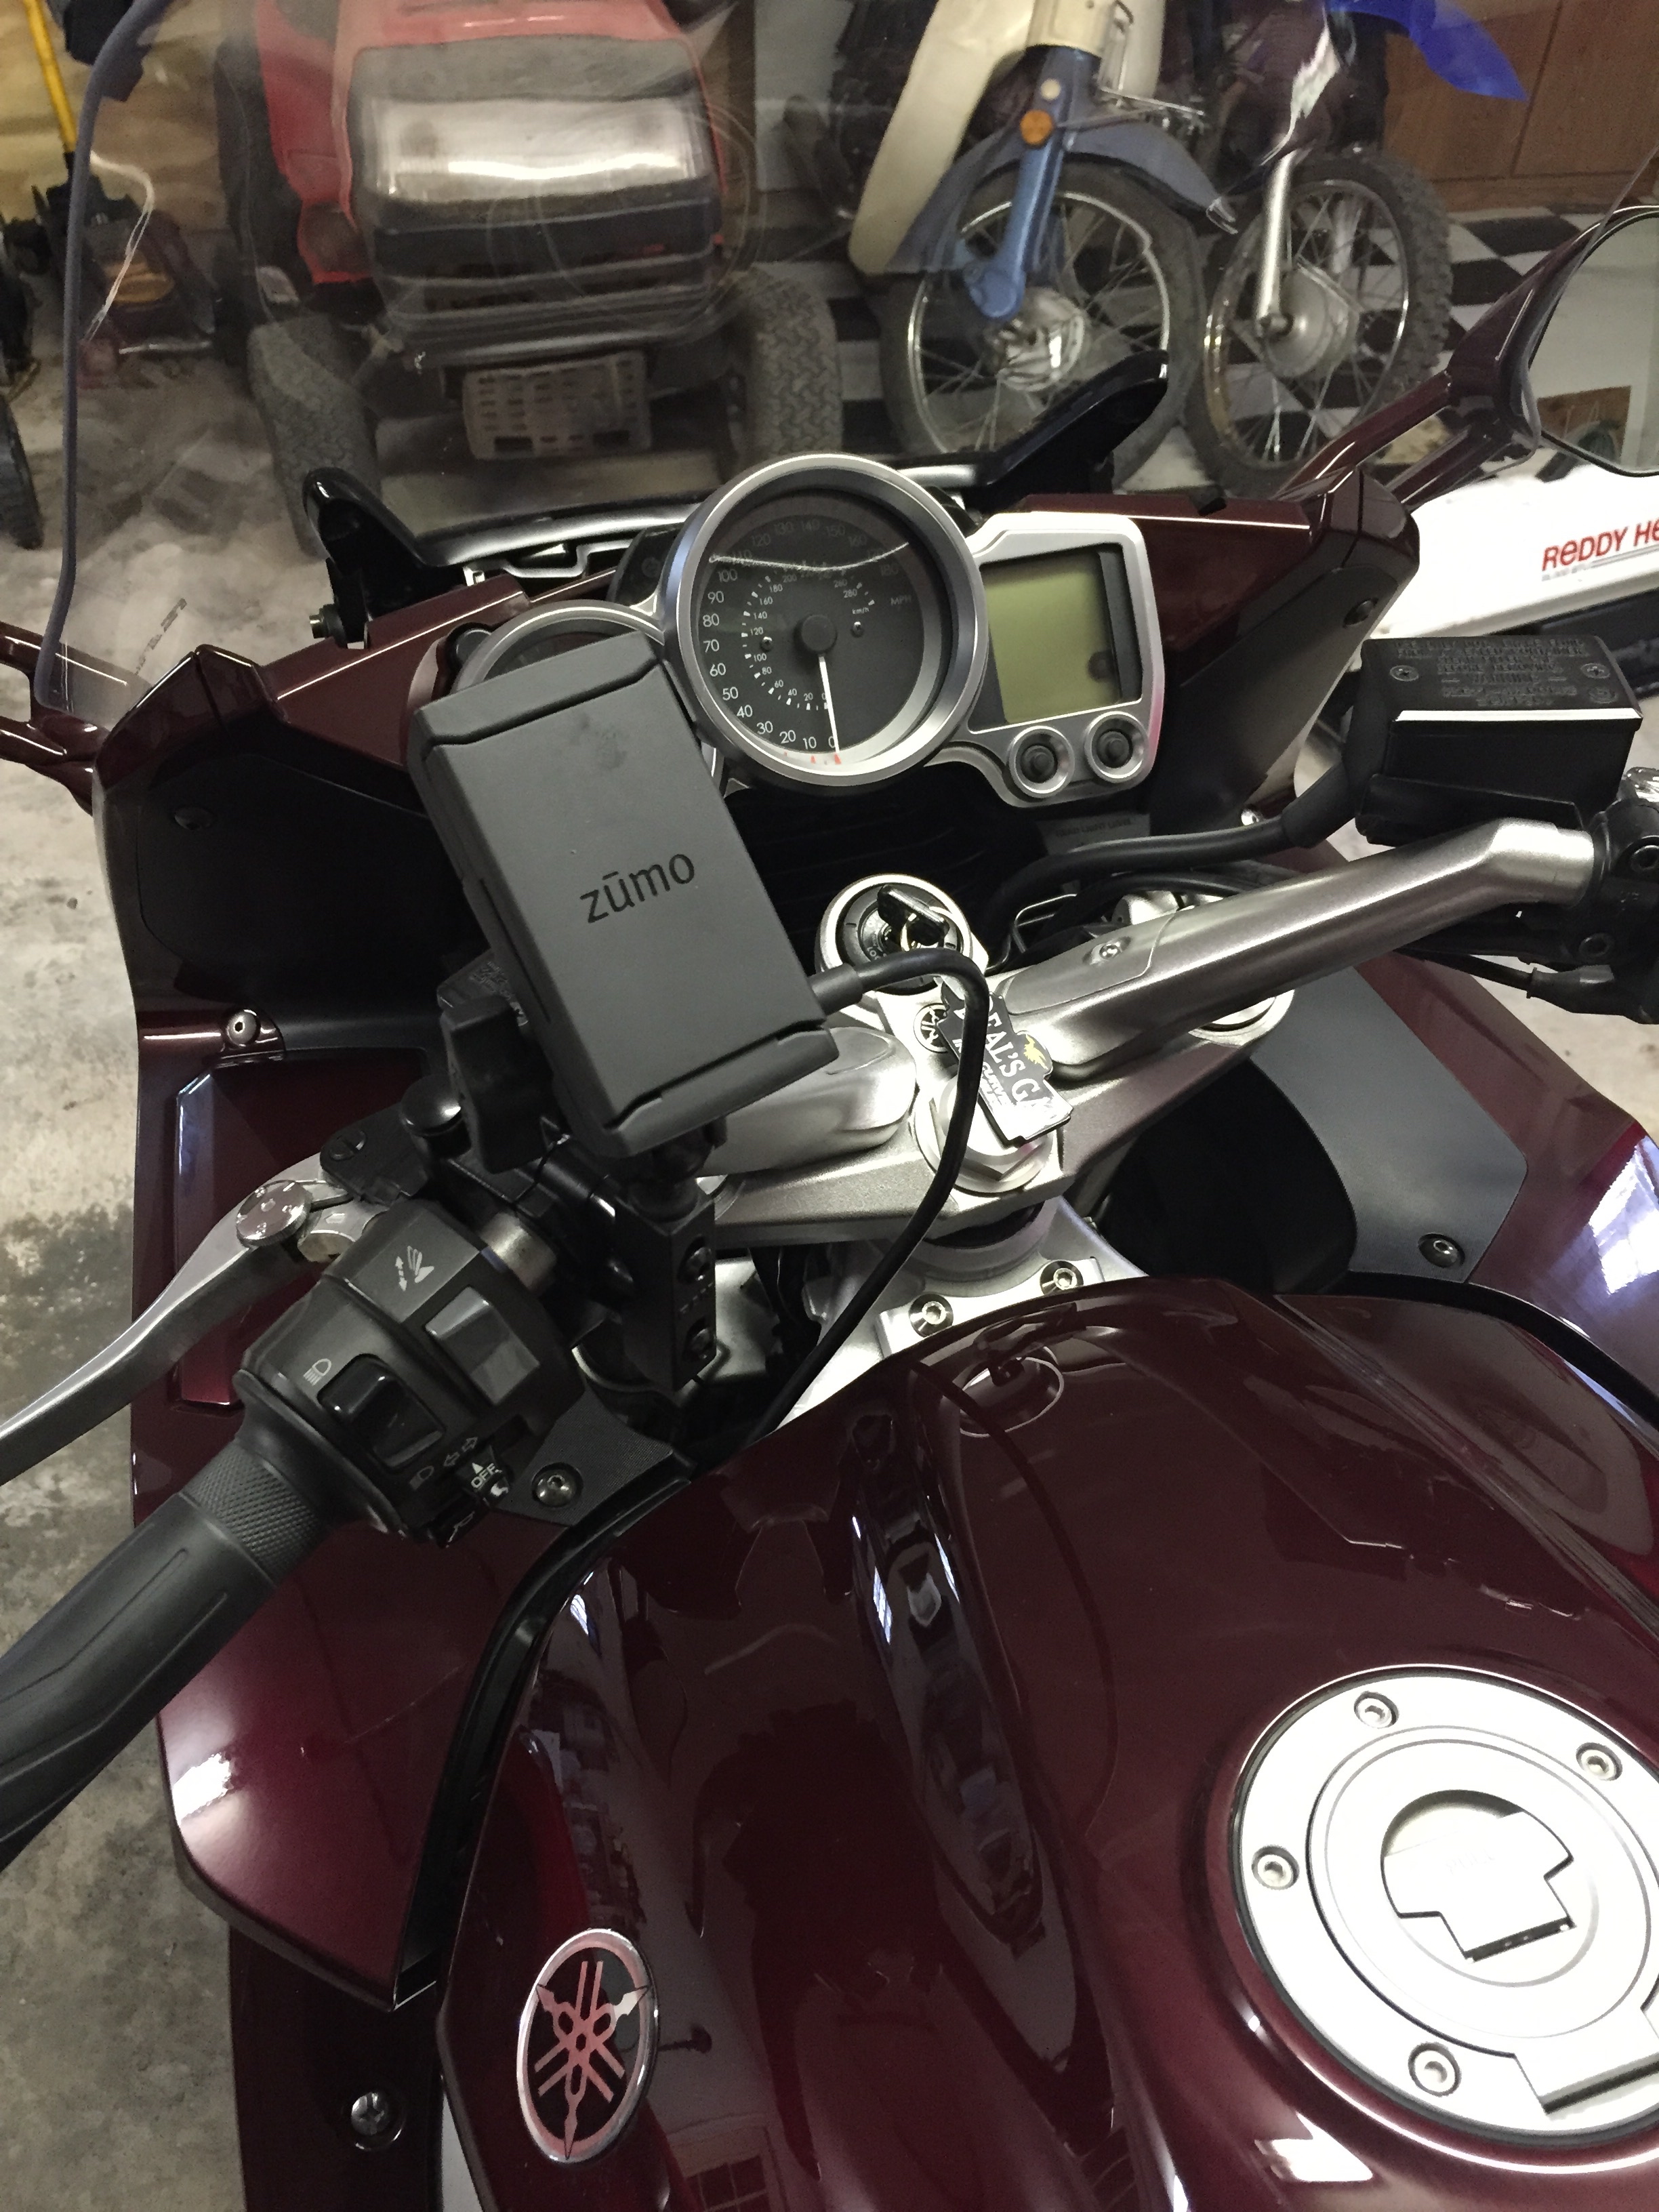 (the unit with the block out piece in place)
Mine was hooked up just fine. Now all that’s left to do is (remove the battery for me since it’s winter and I have it on the tender) put the panels back into place, ensuring the wires are hidden.
The entire install took me less than 30 minutes and I was pleased with how it turned out. While it was over 60 degrees out today, it’s calling for 24 degrees to be the high on Thursday so there won’t be any riding in my near future. That said, can’t wait to get a full review on the Garmin unit once it gets warm.